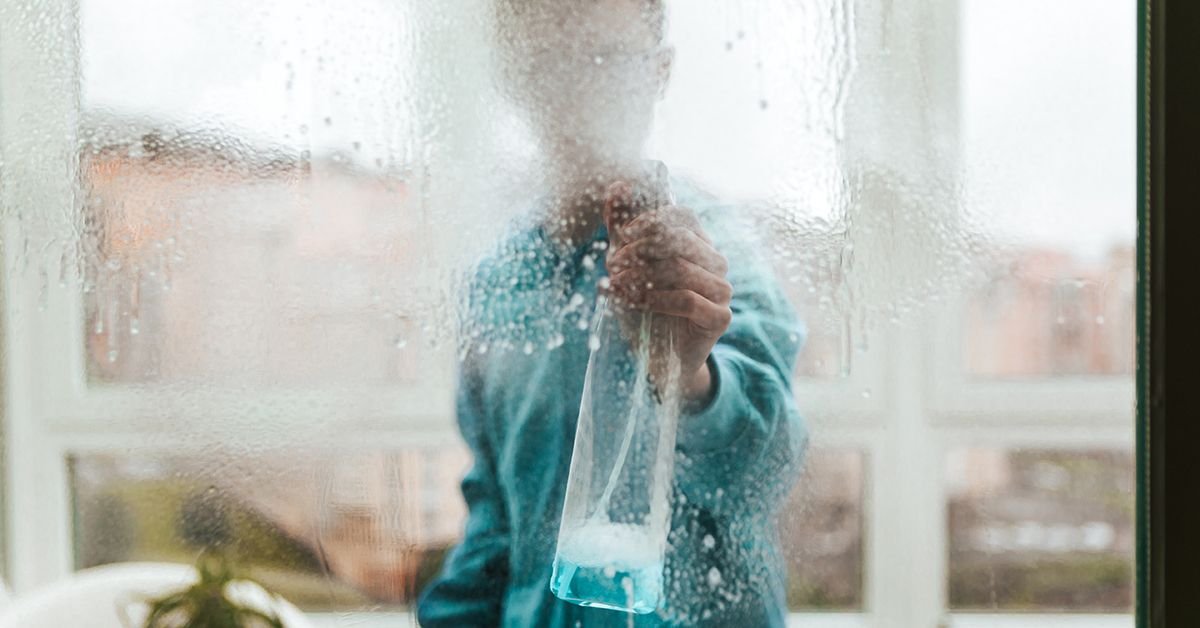
When the respiratory fatigue, body aches, and fevers of influenza finally subside, a profound sense of relief washes over the household. However, while your body is busy regaining its strength, the living environment where you spent days recovering often remains a sanctuary for lingering microscopic pathogens. Influenza viruses are notoriously resilient, possessing the capacity to settle onto furniture, persist across high-touch hard surfaces, and linger in textile fibers. Without a deliberate, systematic post-illness cleaning strategy, your living space can remain a potential reservoir for viral transmission, exposing family members, roommates, or visitors to unnecessary health risks long after your clinical recovery.
Deep cleaning a home after a bout of contagious illness requires moving far beyond the scope of routine weekend tidying. Swapping out cluttered magazines or running a vacuum across the rug will not neutralize the invisible viral particles shed through coughing, sneezing, and continuous physical contact. Effective home decontamination demands a science-backed approach that targets high-risk transmission zones with appropriate chemical agents and procedural precision. By prioritizing proper sanitization techniques, you disrupt the life cycle of household pathogens and effectively seal off potential routes of reinfection or cross-contamination among members of your residence.
This comprehensive guide illuminates the vital distinction between mechanical cleaning and chemical disinfection, providing an actionable roadmap for sanitizing every critical quadrant of your living space. From high-touch architectural features like light switches and doorknobs to delicate personal electronics, kitchen appliances, and soft bedding, this article details step-by-step methodologies engineered to eradicate residual viral presence. By following these structured protocols, you can transform your home back into a safe, restorative, and truly hygienic sanctuary.
Understanding Decontamination: Cleaning Versus Disinfecting
To successfully rid your environment of residual influenza particles, it is essential to understand that cleaning and disinfecting are two distinct steps in the sanitization continuum. Cleaning refers to the physical removal of organic matter, dirt, dust, and microscopic debris from surfaces. This process is typically performed using warm water, surfactant soaps, or general multi-surface detergents paired with mechanical friction, such as scrubbing with a microfiber cloth. While cleaning significantly reduces the overall microbial load by washing away dirt where viruses hide, it does not reliably kill viral pathogens on contact.
Disinfecting, by contrast, relies on specific antimicrobial chemical formulations—such as dilute bleach solutions, hydrogen peroxide formulations, or alcohol mixtures—to directly destroy or permanently inactivate pathogens on non-porous and porous surfaces. Influenza viruses are enveloped viruses, meaning they are surrounded by a lipid membrane that protects their internal genetic material. Disinfectants operate by dissolving or disrupting this delicate outer lipid layer, rendering the virus incapable of binding to human cells and terminating its ability to cause infection.
For optimal health outcomes, these two actions must be applied sequentially rather than interchangeably. Applying a chemical disinfectant directly over a dirty or greasy surface drastically reduces the chemical’s efficacy, as organic debris acts as a physical shield for underlying pathogens. By first cleaning a surface to remove dust and soil, and subsequently applying an approved disinfectant while adhering to specified wet contact times—often referred to as dwell time—you ensure the maximum possible reduction in viable viral particles across your home.
High-Touch Vulnerability Areas and Viral Survival Dynamics
Scientific investigations into viral longevity demonstrate that influenza pathogens can survive on non-porous hard surfaces—such as stainless steel, glass, laminate, and hard plastics—for up to 48 hours. On softer, porous surfaces like cotton sheets, wool blankets, and cardboard, the virus generally degrades more rapidly, typically surviving between eight to twelve hours. Furthermore, viable viral particles transferred to unwashed human hands can remain transmissible for up to an hour, creating continuous opportunities for secondary spread whenever an individual touches their face, nose, or mouth after touching contaminated household items.
Identifying and prioritizing the primary contact zones in your home allows for an efficient and targeted decontamination effort. The highest-risk touchpoints routinely include:
- Architectural hardware, including interior and exterior door handles, cabinet knobs, drawer pulls, and window latches.
- Electrical fixtures, such as wall light switches, lamp turn-keys, and temperature thermostat control panels.
- Shared household electronics, including television remote controls, game controllers, touchscreens, computer keyboards, and mice.
- Plumbing hardware, including sink faucet levers, shower handles, flush valves, and toilet seat lids.
- Soft living textiles, such as bed linens, pillowcases, couch throw covers, bath towels, and hand towels.
- Personal hygiene items and containers, including toothbrush handles, tissue box covers, soap pump dispensers, and trash can lids.
Focusing your immediate sanitization efforts on these high-traffic focal points breaks the chain of household transmission effectively. Because respiratory droplets expelled during coughing or sneezing can settle across a wide radius beyond the immediate bed area, treating these concentrated touchpoints ensures that both direct contact and secondary settling zones are rendered completely safe for non-infected household members.
Step-by-Step Sanitization: Kitchens, Bathrooms, and Living Spaces
The room-by-room sanitization process should commence in the areas where viral accumulation is highest and where cross-contamination risks are most pronounced: the kitchen and the primary recovery bedroom or bathroom. In the kitchen, begin by clearing all contaminated dishware, drinking glasses, and cutlery used during the illness. Wash these items immediately in a high-temperature automatic dishwasher cycle utilizing heat-drying options, or manually wash them using hot water and antibacterial dish soap. Once the sink is clear, wash down all solid kitchen countertops with warm soapy water to strip away food residues before applying a food-safe disinfectant spray or wipe. Pay meticulous attention to high-touch appliance interfaces, such as refrigerator door handles, microwave keypads, oven dials, coffee maker buttons, and trash receptacle touch-points.
Bathrooms demand an equally rigorous protocol, as humid conditions can prolong microbial survival if surfaces are left untreated. Begin by washing all hard non-porous surfaces including the bathroom counter, sink basin, faucet handles, shower valves, and the complete toilet assembly—paying close attention to the flush handle and lid. Apply a specialized disinfectant spray across these surfaces, ensuring that the solution remains visibly wet for the full dwell time recommended on the product label before wiping dry with clean paper towels or a freshly laundered microfiber cloth. Do not overlook secondary items such as soap pump levers, mouthwash bottles, and toothbrush holders, which frequently collect aerosolized droplets. Discard older toothbrushes or replacement brush heads that were utilized during the active phase of the flu to eliminate lingering pathogen reservoirs near oral mucous membranes.
In living rooms and general common areas, systematic surface wiping must be paired with thorough surface care. Hard surfaces such as side tables, coffee tables, chair armrests, and banisters should be systematically wiped down with appropriate disinfectant wipes. For sensitive shared electronics like remote controls, game pads, and wall-mounted touch panels, lightly dampen a clean microfiber cloth with a 70% isopropyl alcohol solution—never spray liquid disinfectants directly onto electronic devices—and gently wipe all exterior surfaces, ensuring no moisture drips into openings or port channels.
Managing Household Textiles, Electronics, and Air Quality
Soft fabrics represent a major environmental repository for respiratory fluids and shed skin cells following an illness. Strip all bedding from the recovery bedroom, including fitted sheets, flat sheets, pillowcases, duvet covers, and mattress protectors. Collect these items alongside dirty bath towels, hand towels, and pajamas in a laundry basket. When transporting dirty linens, avoid vigorously shaking them, as shaking can disperse dry viral particles and dust into the ambient household air. Wash these fabrics in your washing machine using a heavy-duty laundry detergent and the highest water temperature setting recommended by the fabric care label. Subjecting textiles to a complete, high-heat drying cycle in an automatic clothes dryer is equally vital, as prolonged thermal exposure acts as a potent secondary pathogen eliminator.
Simultaneously, do not forget to address the physical laundry hampers and baskets used to move contaminated items. If the hamper is made of hard plastic or metal, wipe down its interior and exterior surfaces with a disinfectant spray or wipe. If using a fabric liner hamper, wash the liner along with the infected bedding load. Furthermore, sanitize personal mobile devices, tablets, and computer keyboards by wiping them down daily with alcohol-based cleaning pads, as personal electronics are continuously touched throughout the day and placed near the face.
Finally, improving indoor ventilation plays an indispensable role in refreshing the home environment post-flu. Stagnant indoor air can hold suspended airborne particles and unpleasant odors. Open windows in the recovery room and main living areas for 15 to 30 minutes daily to encourage fresh outdoor air exchange, provided weather conditions permit. If your home utilizes a forced-air heating, ventilation, and air conditioning system, consider upgrading to a high-efficiency filter or deploying a portable high-efficiency particulate air purifier in key rooms to continuously capture airborne particulate matter and residual biological contaminants.
Frequently Asked Questions
How long can influenza viruses survive on surfaces inside a home?
Influenza viruses generally remain infectious on non-porous, hard surfaces such as stainless steel, plastic, glass, and sealed wood for up to 48 hours. On softer, porous materials like clothing, paper, and bedding, the virus tends to lose its infectivity much faster, usually surviving between 8 and 12 hours. On unwashed human skin, influenza can survive for up to an hour. Because environmental factors like indoor humidity and temperature influence viral survival, prompt cleaning and disinfecting of hard surfaces after an illness is recommended to eliminate lingering viral loads.
Is it essential to replace your toothbrush after recovering from the flu?
While the human immune system develops protective antibodies against the specific strain of influenza virus you just recovered from—making immediate re-infection from your own toothbrush unlikely—replacing your toothbrush is still a recommended hygiene practice. Toothbrush bristles host diverse communities of oral bacteria and biological moisture, creating an ideal environment for microbial survival. Swapping out your toothbrush or electric toothbrush head once your symptoms resolve eliminates unnecessary microbial growth and reduces the chance of secondary bacterial infections during your recovery phase.
Can you wash a sick person’s clothes and bedding with the rest of the family’s laundry?
Yes, it is entirely safe to wash laundry from an individual recovering from the flu alongside items from other non-sick household members, provided proper laundering protocols are followed. The combination of modern laundry detergents, physical agitation during the wash cycle, and high water temperatures effectively neutralizes and removes influenza viral particles. To ensure complete sanitization, always wash items using the warmest water setting allowed by the clothing manufacturer instructions and dry them thoroughly on a high-heat dryer setting.
Restoring Peace of Mind and Household Health
Navigating an episode of influenza within the household can be physically exhausting and stressful for everyone involved. However, shifting your focus toward a structured, methodical post-illness sanitization plan provides an effective way to regain control over your environment and safeguard your family’s health. By understanding the critical procedural distinction between routine cleaning and targeted chemical disinfection, you ensure that high-touch surfaces, shared living spaces, personal electronics, and household textiles are systematically cleared of potential viral threats.
Ultimately, taking the time to deep-clean and sanitize your living space after an illness does far more than just destroy residual pathogens—it restores clarity, freshness, and essential peace of mind to your sanctuary. Establishing these rigorous sanitization practices builds long-term household resilience, empowering you to maintain a cleaner, safer, and healthier home environment through flu season and beyond.
Leave a Reply